
From the chosen bottle to packed goods.
See the real work areas and the decisions that turn a packaging reference into an agreed order.
Explore the processMake every handoff clear before manufacturing.
These facility photos show real spaces and equipment. Any available model drawing, an approved sample and written order requirements determine what to make, inspect and pack for your project.
What changes after you choose a bottle?
The manufacturing path depends on whether the available model already fits, needs a finish, or must be redesigned. The selected parts and approved sample determine the production instruction.
Confirm the available configuration
Check the exact SKU, color, cap or pump and stock status. A catalogue image alone does not establish current availability or component fit.
Next evidence: selected model and assembled sample.Set the surface and artwork
Keep the base bottle, artwork revision, color and print location together. Confirm which listed WDPACK process suits the material and order quantity.
Next evidence: approved decorated sample.Define the drawing and mold scope
Mark the changes to form, neck or dimensions and agree the development route. Approve the resulting sample before treating it as the bulk reference.
Next evidence: drawing and physical approval.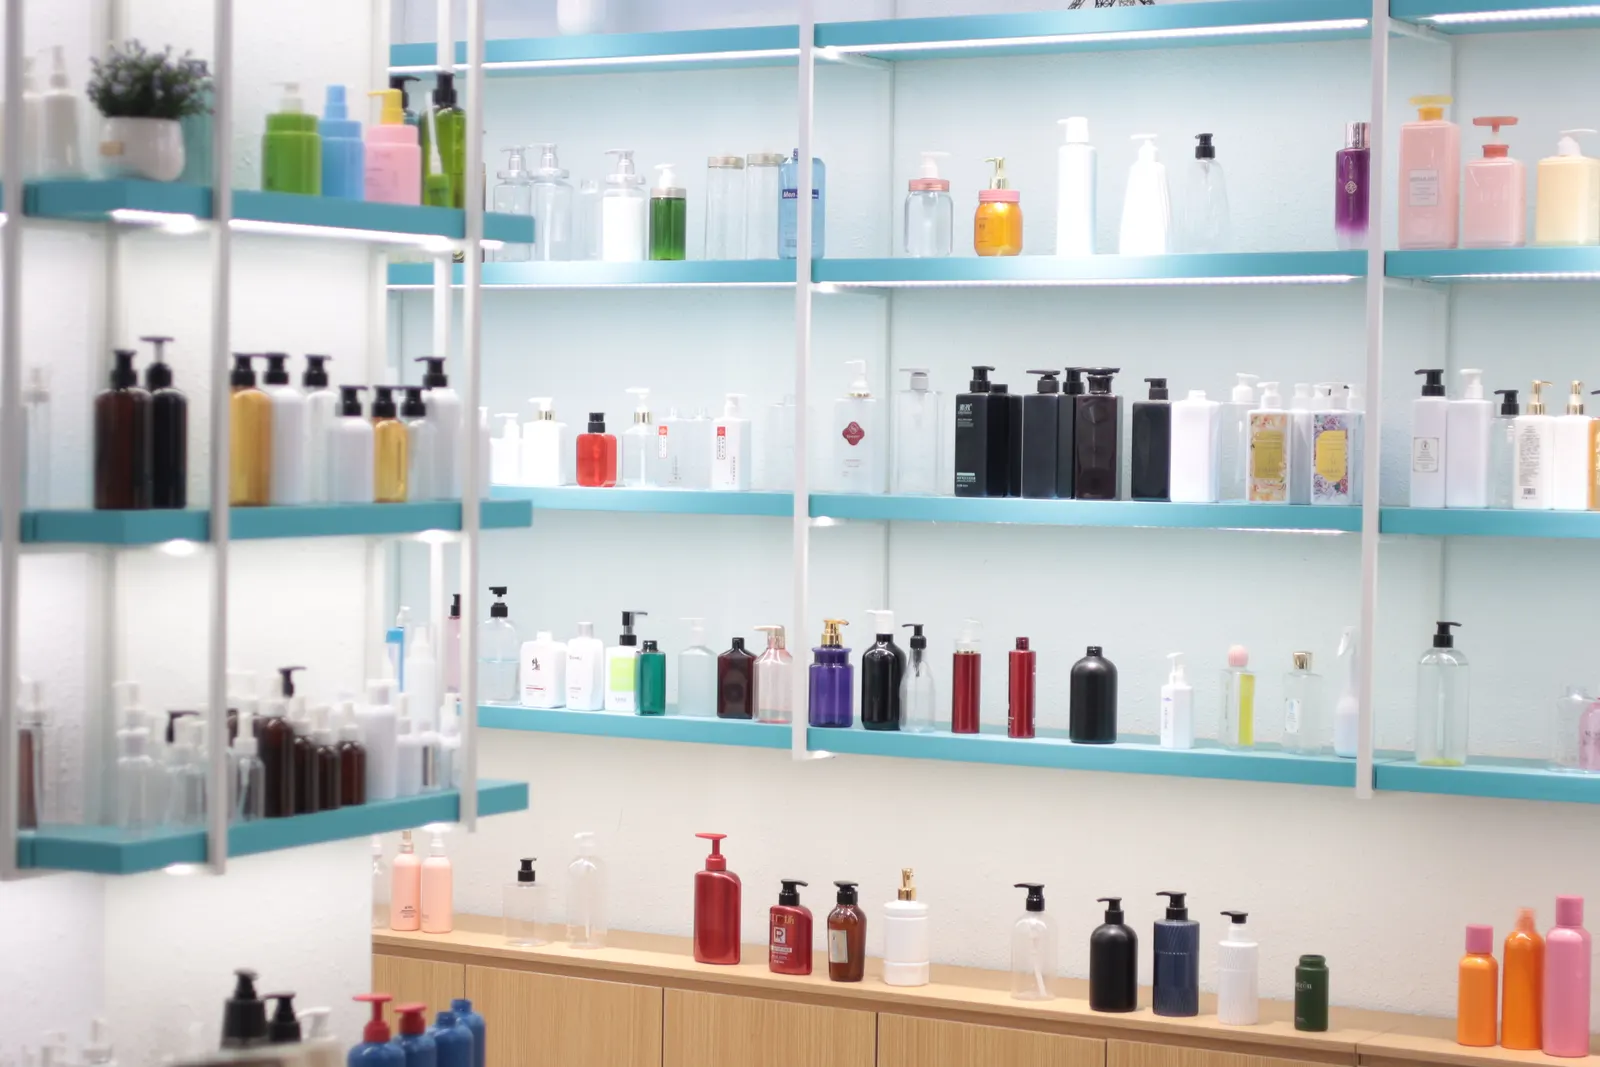
Begin with the bottle you actually need.
An existing WDPACK model and a new shape call for different preparation. Compare the catalogue first, then mark the changes that a drawing, sample or new mold must resolve.
- Select the base
- Record the SKU, contents and dispensing parts; confirm current stock and component availability.
- Define the change
- Mark the shape, neck, color and dimensions that differ from the reference.
- Agree the reference
- Use any available drawing or agreed dimensions and a physical sample to guide approval.
- Buyer brings
- SKU or reference bottle, contents, target capacity, closure and the dimensions that affect filling.
- Release point
- A named bottle and component set, or an agreed drawing and mold-development scope.
See the working area behind the bottle.
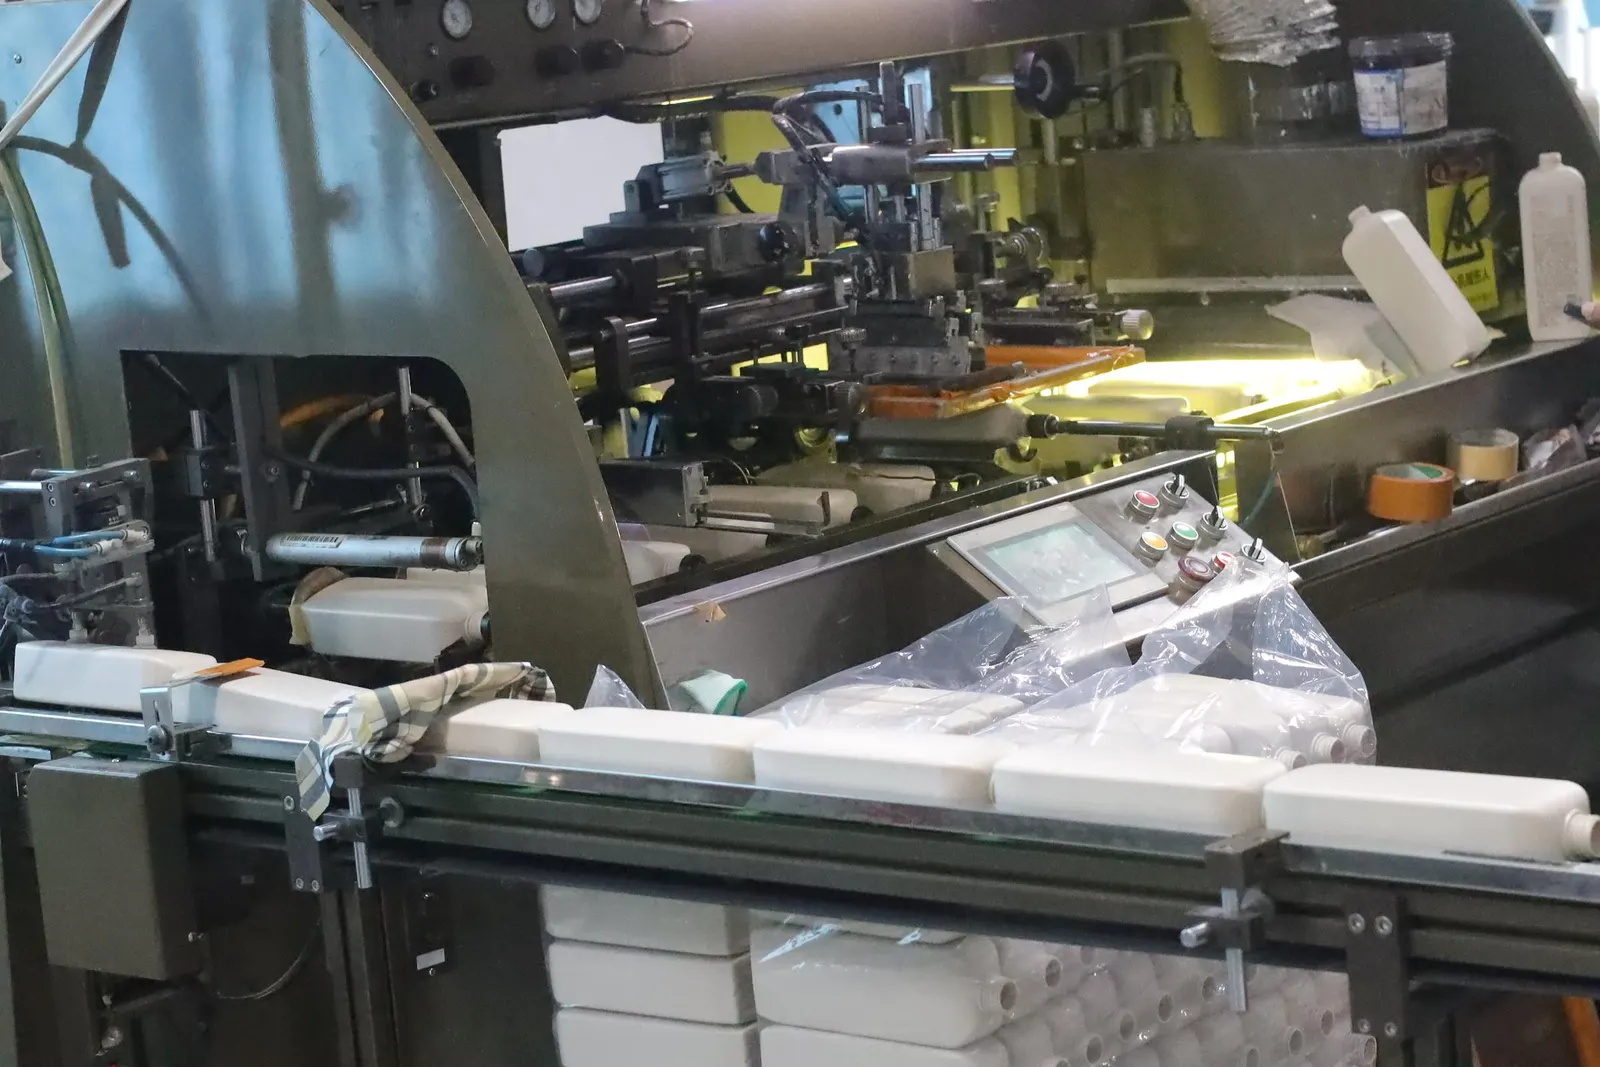
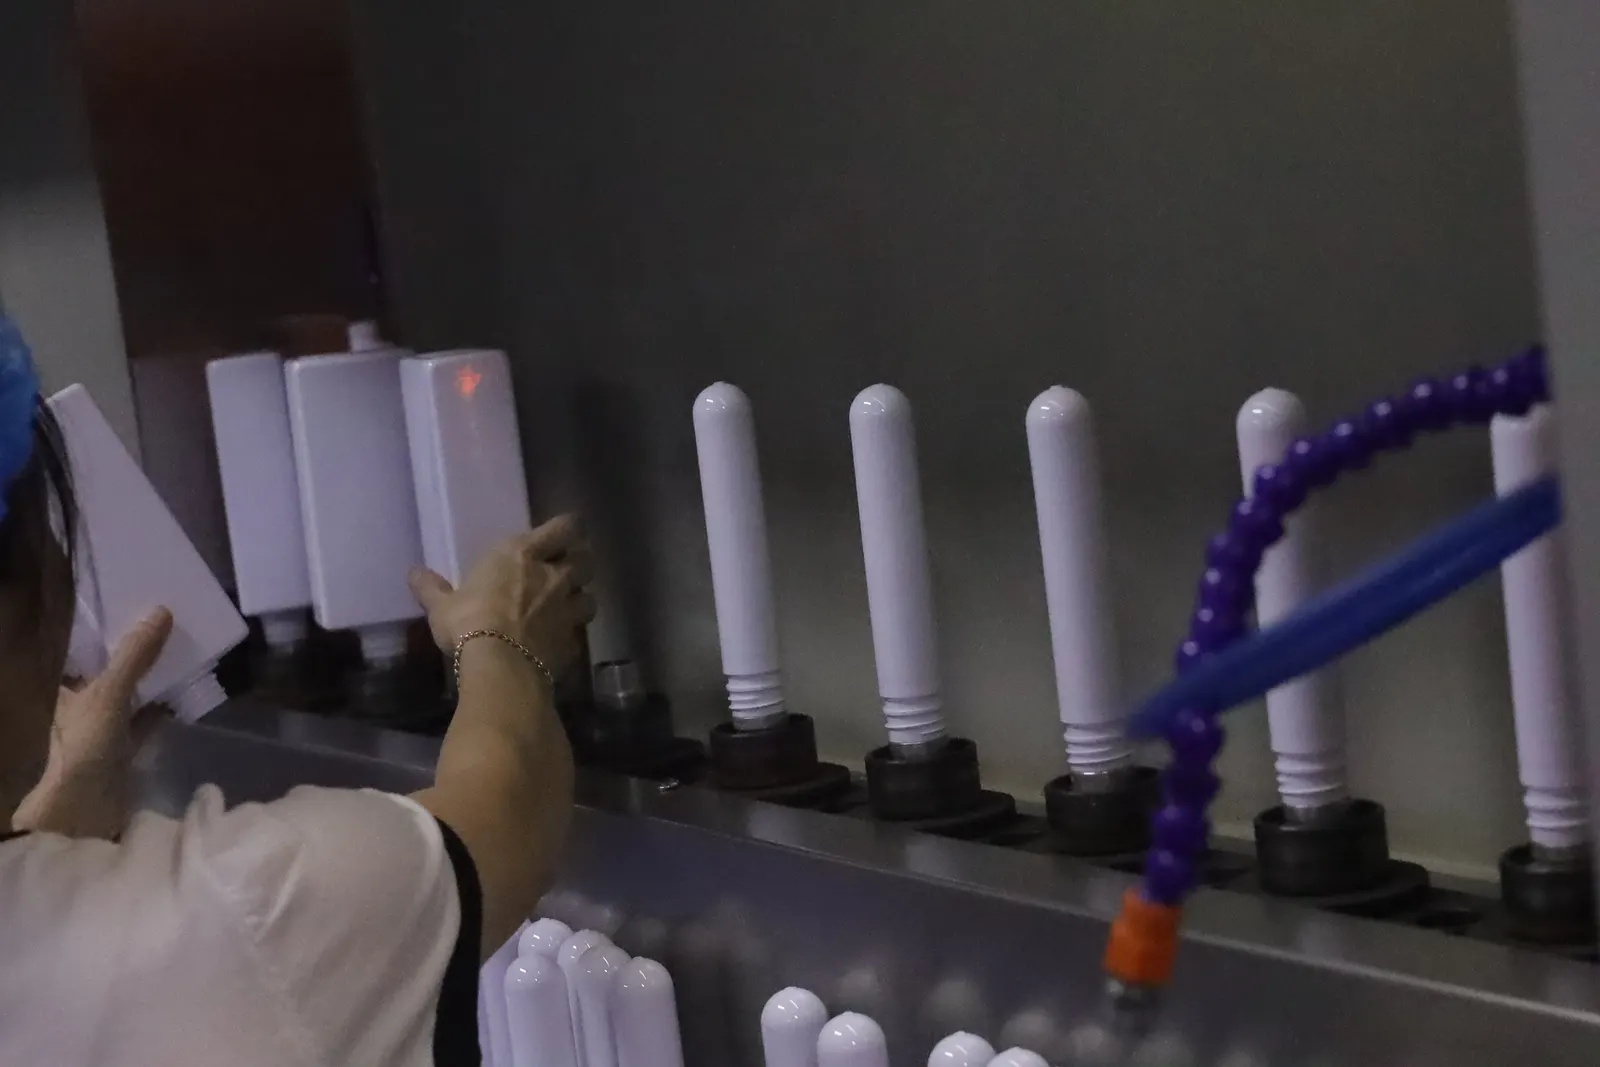
WDPACK photographs show bottle bodies beside equipment and an operator handling them at the line. The equipment route for your model should be confirmed against its shape, material and approved specification.
- Confirm the configuration
- Set the body, closure, dispenser and material for the selected model.
- Check critical fit
- Identify neck, fill opening and component dimensions that affect filling and assembly.
- Confirm the route
- Review the relevant equipment and production sequence for that model against its approved sample.
- Buyer brings
- Approved bottle format, intended contents, critical dimensions and the assembled parts list.
- Release point
- The bulk production specification identifies the model, parts and points to inspect.
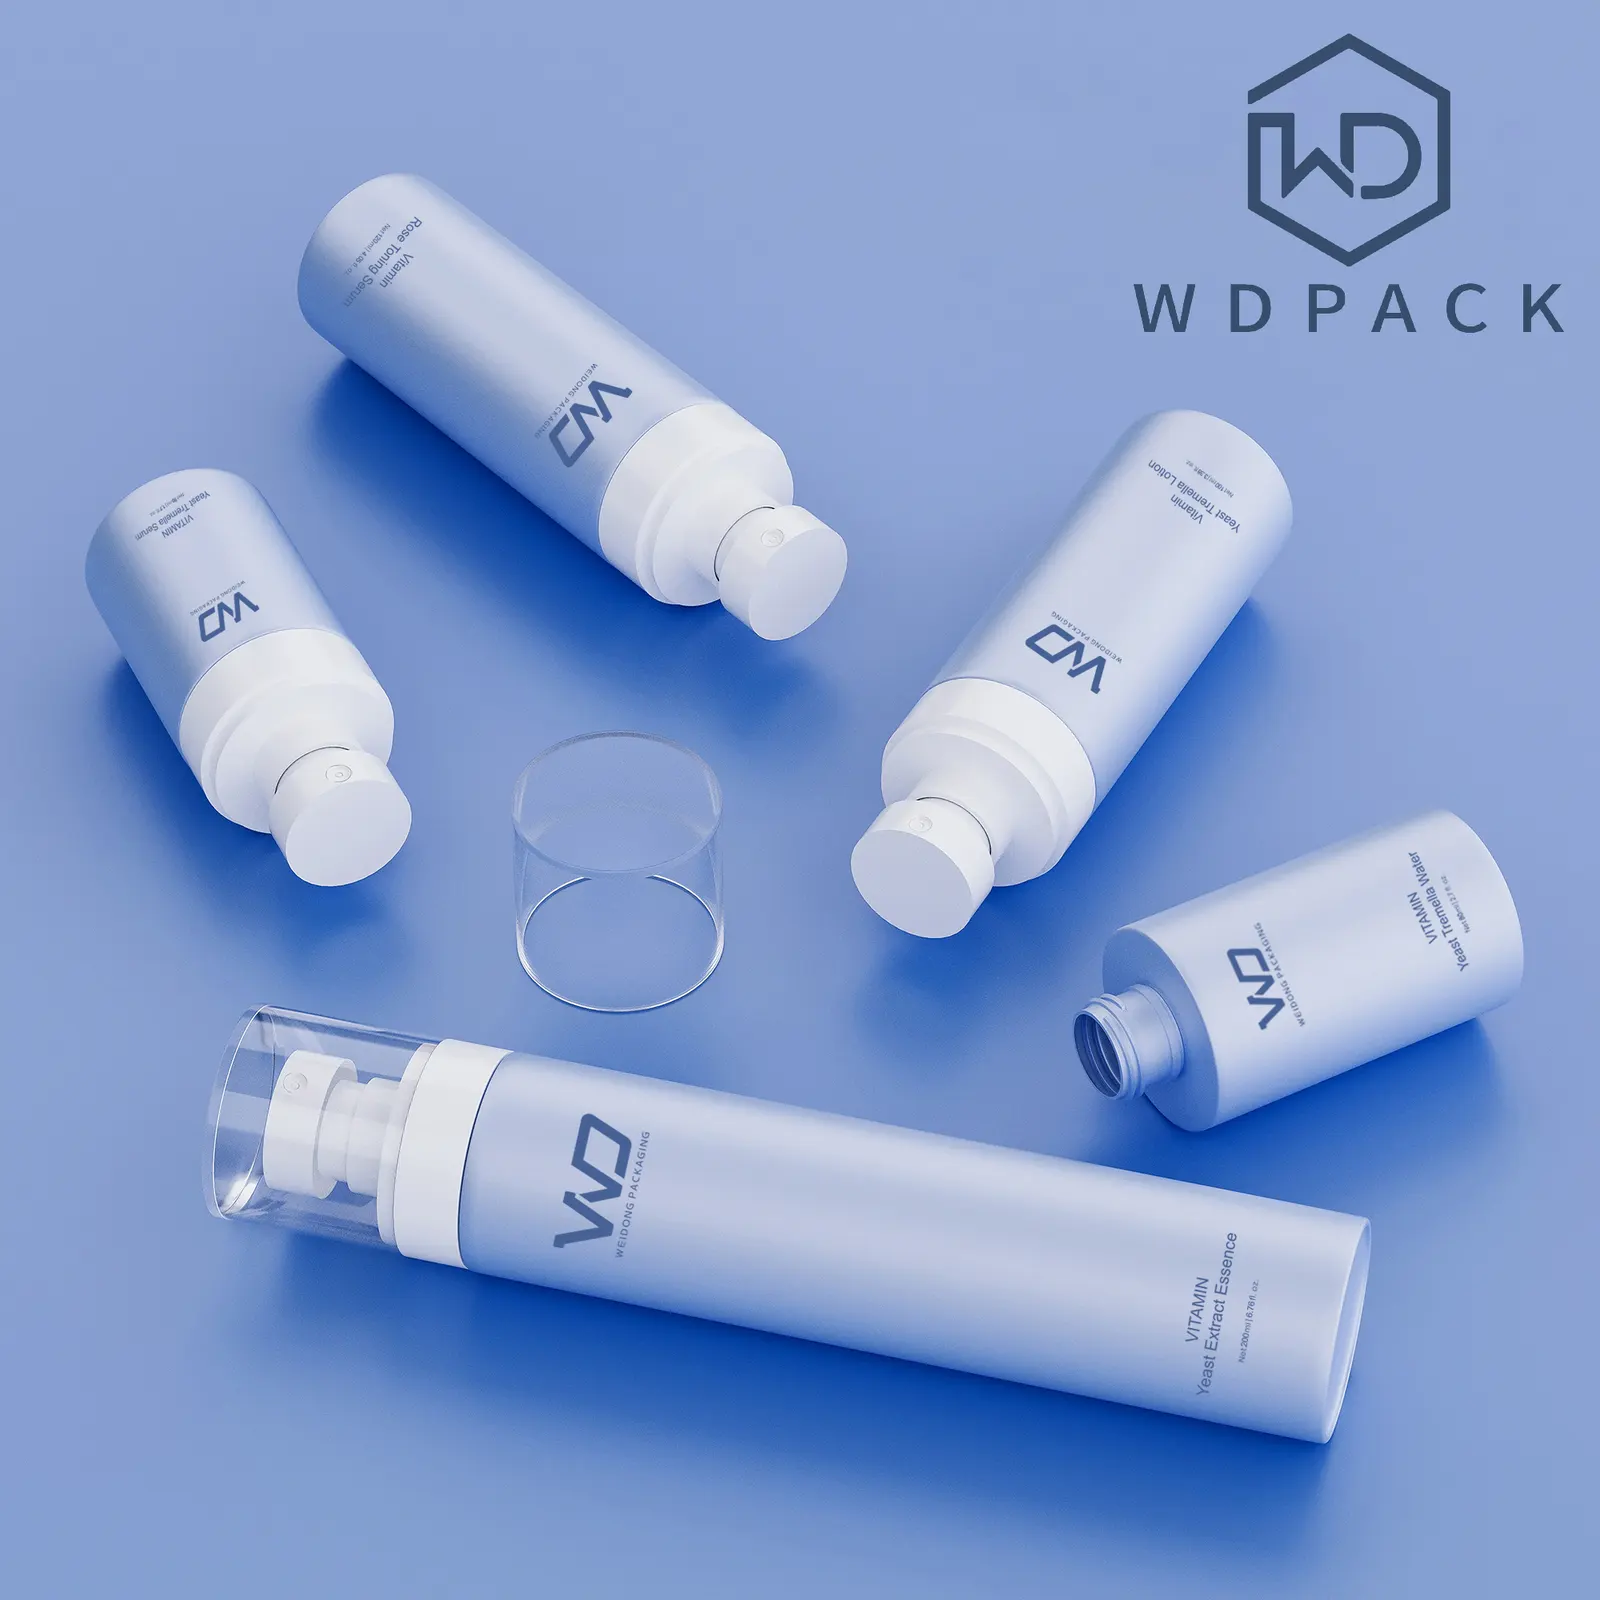
Specify the version your customer will hold.
The showroom displays finished packaging formats; it does not show the decoration work itself. Use a chosen model and artwork to discuss the available finish, printing and component assembly for your project.
- Set the appearance
- Provide a color reference, artwork, print area and desired surface finish.
- Set the assembly
- List the cap, pump, insert or other components that must be supplied together.
- Approve a sample
- Check color, print placement, component fit and use in hand.
- Buyer brings
- Artwork revision, physical or coded color reference, finish target and required component set.
- Release point
- A decorated and assembled sample approved for appearance and fit before the bulk version is fixed.
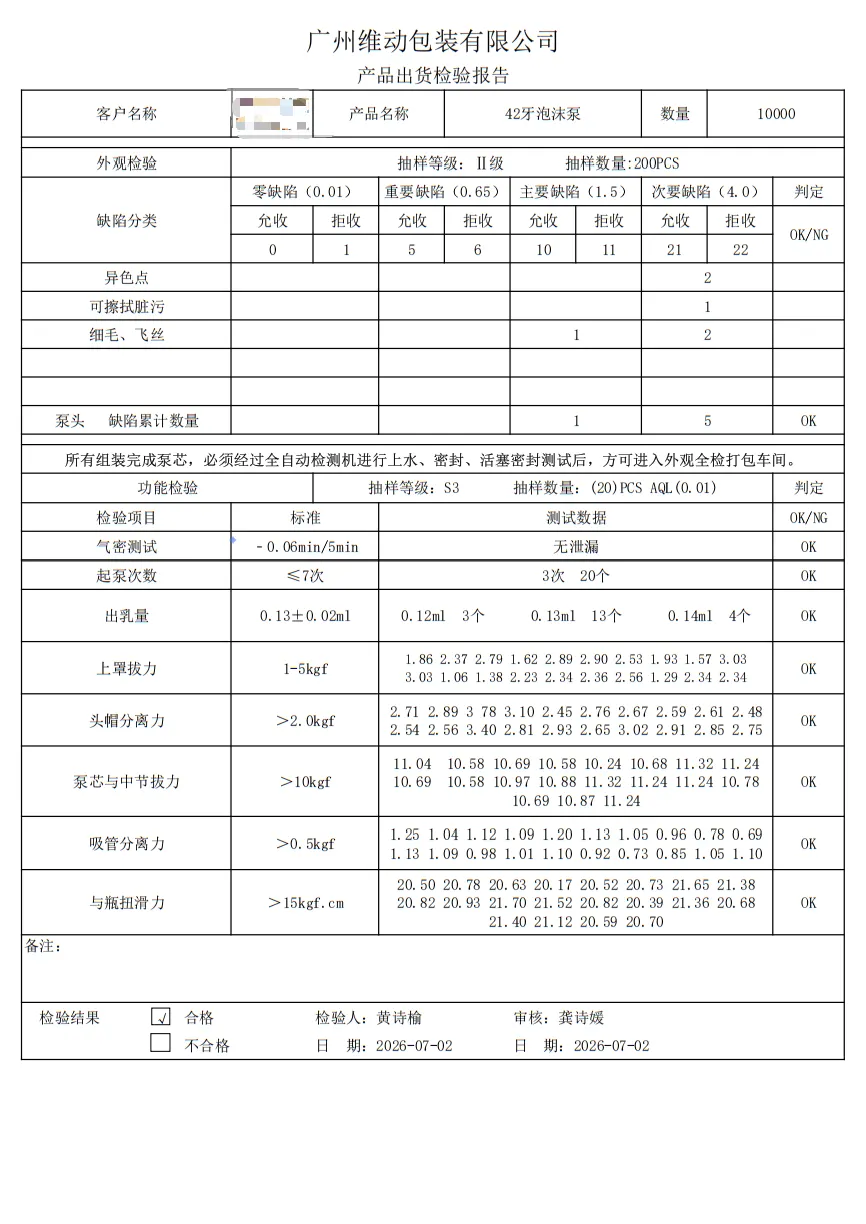
Agree what will be checked for your order.
Inspection follows the approved sample and the written specification. Decide which appearance, dimension, fit, adhesion, leakage and functional checks apply to the actual pack before production.
- Define acceptance
- Set the relevant tolerances and test conditions for the selected model.
- Review the record
- The supplied sheet documents one 42-neck foam-pump batch dated 2 July 2026.
- Keep the scope clear
- That sheet does not certify other models or future orders.
- Buyer brings
- Approved sample, drawing and the appearance, fit or dispensing failures that matter to this pack.
- Release point
- Agreed sampling and acceptance points for the actual production lot; review its record when available.
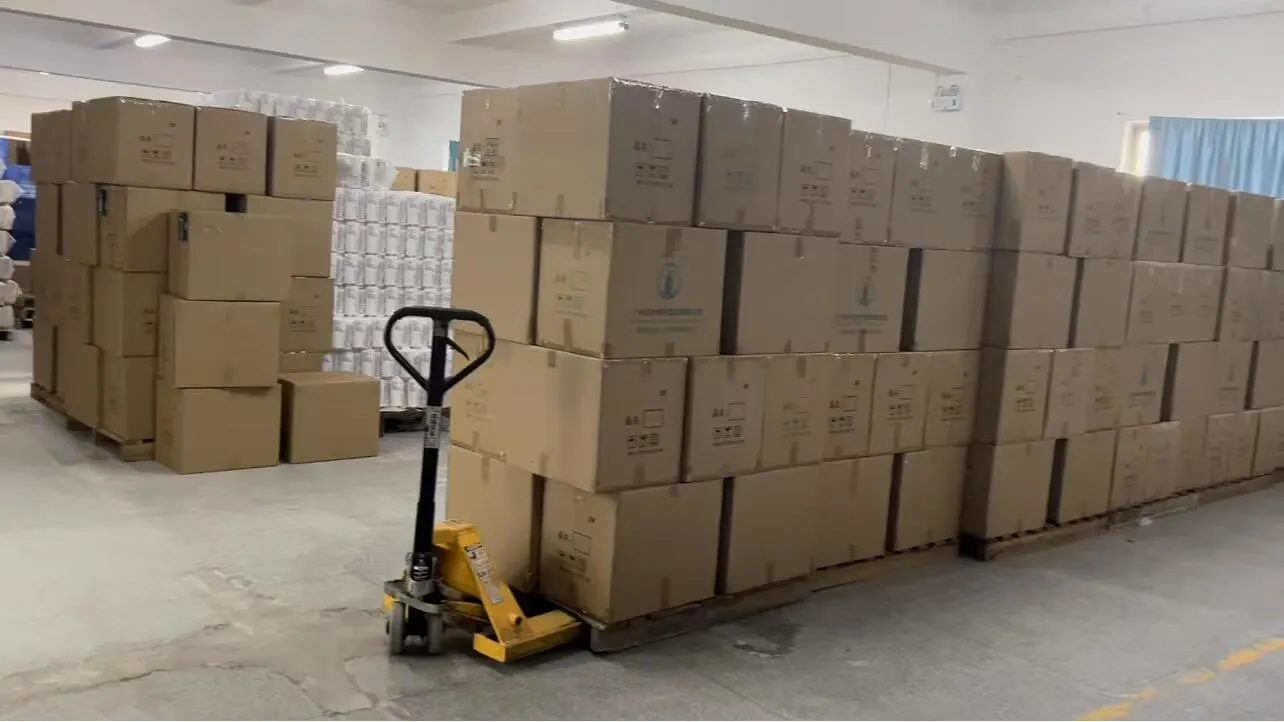
Finish with a clear packing and shipping brief.
WDPACK warehouse photographs show packed cartons in storage. Your packing method, carton details and shipping route should be confirmed for the quantity and destination you request.
- Confirm packing
- Specify the assembled or separate components and carton requirements.
- Check packed goods
- Compare the packed SKU, components and quantity with the confirmed order.
- Plan shipment
- Share the destination and preferred transport method for a relevant quotation.
- Buyer brings
- Order quantity, destination, carton needs and whether parts should be packed assembled or separately.
- Release point
- Packed SKU, parts, quantities and shipment terms match the order instruction.
Inspect the assembled pack, not just the bottle body.
Choose the checks that apply to the actual SKU and contents. WDPACK's published criteria and one foam-pump batch sheet give examples, but acceptance conditions for a new order must be agreed before the lot is made.
Review documented quality checksPrepare a brief around the actual model.
Include the SKU or reference, intended contents, quantity, components, finish, target market and destination. Confirm the relevant sample, production and inspection details for your order.
See the order and approval steps